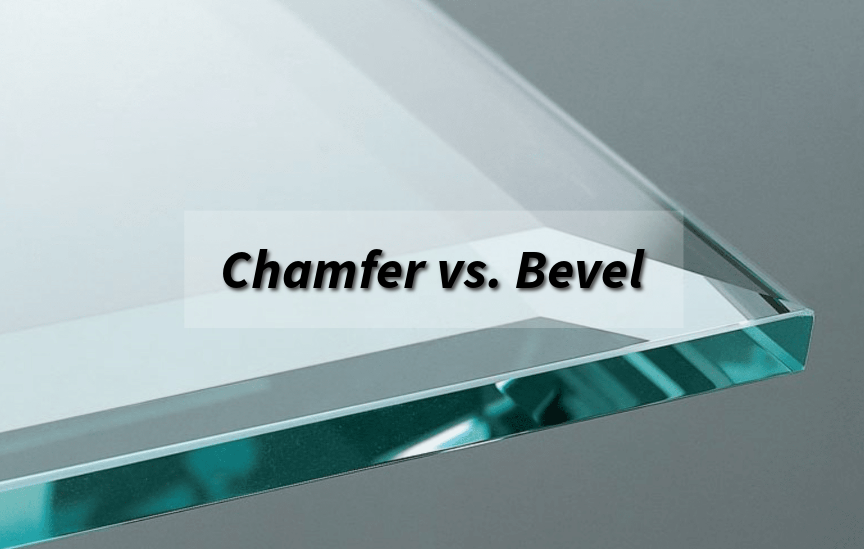
Chamfer vs. Bevel: Understanding the Differences

Learn the essential differences between chamfers and bevels, their unique applications, and how to choose the right edge finishing for your project.
Introduction
When working with materials like wood, metal, or plastic, you’ll often hear the terms "chamfer" and "bevel." Both involve cutting away material to create an angled edge, but they serve different purposes.
In this article, we'll break down the distinctions between chamfers and bevels, explore their practical uses, and help you decide which one to choose for your next project.
Overview of Chamfers and Bevels
Chamfers and bevels are two common edge finishing techniques, but they produce distinct results. Understanding the key differences is crucial for craftspeople to determine the best application.

What is a Chamfer?
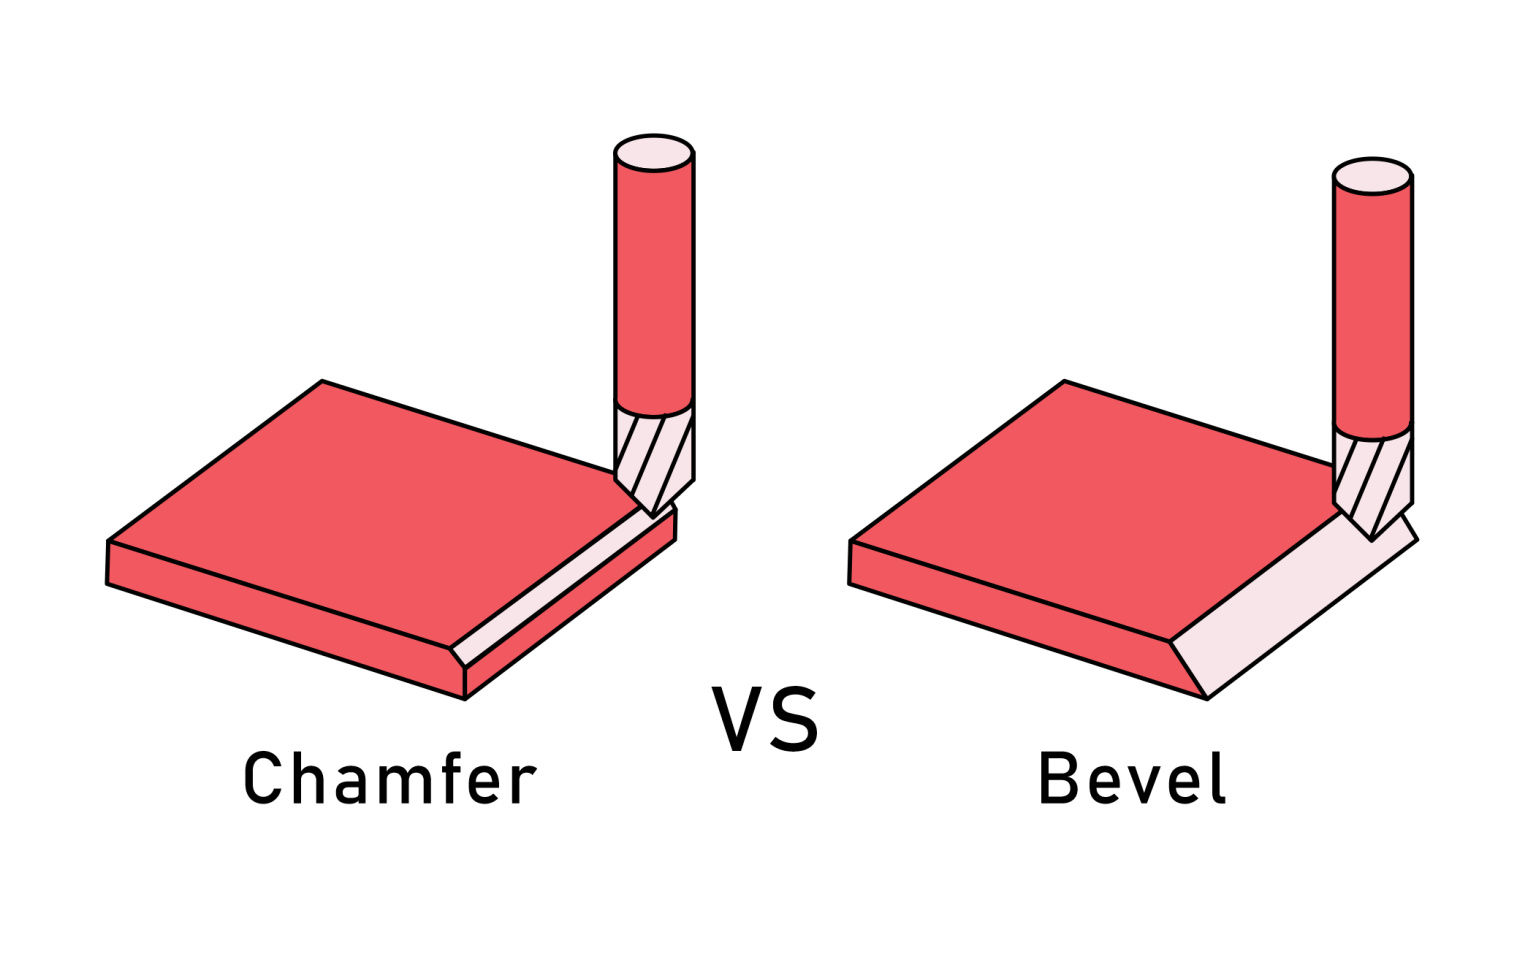
A chamfer removes the sharpness from a corner by cutting a flat, angled plane across the edge, usually at 45 degrees. This preserves the original edge orientation while eliminating sharpness.
Chamfers are well-suited for:
Furniture edges and moldings, enhancing both safety and aesthetics.
Mechanical components, where they reduce stress concentrations and facilitate assembly.
Architectural elements like door frames, adding visual appeal and safety in high-traffic areas.
Benefits include safety from sharp edges, polished aesthetic appeal, and easier assembly of parts.
What is a Bevel?
Rather than cutting a flat plane, a bevel cuts the edge itself at an angled slope. This contours the edge rather than retaining its original profile.
Common bevel applications include:
Glasswork like mirrors, adding depth and elegance.
Woodworking joints for a seamless appearance in cabinetry and furniture.
Metalworking during welding preparation to improve joint strength.
Bevels are well-suited when decorative visual interest or smooth transitions between surfaces are priorities. They can also enhance structural integrity in some joins.
Chamfer vs. Bevel: Key Differences
Feature | Chamfer | Bevel |
|---|---|---|
Definition | A small, angled cut at the corner of a workpiece. | A larger, angled cut at the corner of a workpiece. |
Angle | Typically 45 degrees, but can vary. | Can be any angle, depending on the application. |
Shape | Rounded or slightly sloped edge. | More pronounced angle or slope. |
Purpose | Aesthetic, safety, assembly. | Functional, structural, appearance. |
Common uses | Edges of metal parts, furniture, wood trim. | Joining materials, creating specific angles, reducing stress concentrations. |
Tools | Chisels, planes, routers, angle grinders. | Chisels, planes, routers, angle grinders, milling machines. |
Additional considerations:
Material: The material of the workpiece can influence the choice of edge treatment. For example, softer materials may require a more gradual bevel to prevent chipping or cracking.
Tolerance: The required tolerance for the edge treatment can also affect the choice between chamfer and bevel. A tighter tolerance may necessitate a more precise machining process.
Aesthetic preferences: The desired appearance of the workpiece can be a factor in selecting between chamfer and bevel. A chamfer may create a more rounded and polished look, while a bevel can add a more angular or dramatic effect.

When to Use Chamfers or Bevels
Choosing between chamfers and bevels is essential for achieving the right balance of functionality and aesthetics in your projects. Here’s a guide to help you decide based on industry applications, materials, and design goals.
Chamfer or Bevel? Industry Considerations
Industry/Application | Chamfers | Bevels |
|---|---|---|
Woodworking | Enhances safety and aesthetics on furniture edges and tabletops. | Adds visual appeal in joints and decorative features. |
Metalworking | Reduces stress and aids assembly in mechanical parts, especially for welding. | Prepares edges for welding, providing a stronger joint. |
Glass and Mirror Work | Softens edges for safety. | Adds depth and elegance to glass fixtures. |
Construction and Architecture | Softens building corners for safety and aesthetics. | Creates shadow lines in trims for visual interest. |
Chamfer or Bevel? Material Considerations
Material Considerations | Chamfers | Bevels |
|---|---|---|
Wood | Prevents splintering and improves safety. | Enhances aesthetics in fine woodworking. |
Metal | Improves fit in machined parts. | Essential for strong welds in joints. |
Plastic | Smooths edges for safety. | Used for decorative finishes while maintaining integrity. |
Chamfer or Bevel? Design Preferences
Design Preferences | Chamfers | Bevels |
|---|---|---|
Aesthetics | Provides a clean, modern look for minimalist designs. | Offers a decorative touch for high-end products. |
Functionality | Best for safety and ease of use. | Suitable for designs needing smooth transitions. |
Tools and Techniques for Creating Chamfers and Bevels
Tools Needed
Chamfer Tools: Common tools include router bits specifically designed for chamfering, hand planes, and chamfer jigs that ensure precision in cutting.
Bevel Tools: Tools such as bevel gauges, miter saws, and specialized router bits designed for creating bevels can achieve the desired angle and finish.
Step-by-Step Guide
Creating a Chamfer:
Measure and Mark: Determine the desired angle and width of the chamfer, marking it clearly on the edge of the material.
Setup: If using a router, install a chamfer bit and adjust the depth according to your specifications.
Cut: Slowly and carefully run the router along the edge, following the marked line. For hand tools, use a plane to carefully shave off the edge.
Finish: Sand the chamfered edge to smooth out any rough spots and achieve a polished look.
Creating a Bevel:
Determine Angle: Decide on the angle needed for the bevel and mark it clearly on the material.
Setup: Use a bevel gauge to set the angle on a miter saw or adjust your router bit accordingly.
Cut: Make the cut slowly, ensuring that the material stays secure. For hand-cutting, carefully follow the marked line with a saw.
Smooth Finish: Sand the beveled edge to remove any splinters and ensure a clean, smooth surface.
Conclusion
In summary, chamfers and bevels are important in product design and manufacturing. Knowing their differences and uses will help you make better choices in your projects.
Whether you focus on function, appearance, or both, understanding when to use a chamfer or bevel can improve the quality and appeal of your work.
What Can AutofabX Help?
AutofabX offers comprehensive design and manufacturing solutions tailored to your needs. Whether you need 3D printing, CNC machining, injection molding, finishing, assembly or packaging - our state-of-the-art facilities allow for complete in-house production.
No project is too big or small. We'll work within your budget to help optimize for cost, strength, weight and other factors.
Ready to get started? You can easily get a instant quotes by uploading your file- no need to wait.
Interested to discuss your project? Reach out and one of our engineers will be in touch within 24 hours. We're here to help your vision become reality.
FAQs
In what industries are chamfers commonly used?
Chamfers are frequently found in woodworking, metalworking, and automotive manufacturing, where functionality and safety are paramount.
Can I create chamfers and bevels with the same tools?
Some tools, such as routers, can be used for both, but specialized chamfer and bevel tools will yield better results for their respective techniques.
What are the safety benefits of using chamfers?
Chamfers reduce sharp edges that could cause cuts and injuries, making products safer to handle, especially in high-traffic environments.
When should I choose a bevel over a chamfer?
Opt for a bevel when aesthetic appeal is a priority, or when you require a smoother transition between surfaces, especially in decorative applications.